 Making striking banners with glitches text may be a creative endeavour that is both visually appealing and enjoyable. Your banners will feel lively and retro-futuristic with glitch lettering. Although we’ll walk you through the procedure using Adobe Photoshop in this in-depth step-by-step tutorial, you may get comparable results using other graphic design software.
Step 1: Putting your canvas together
- Launch your chosen graphic design program, such as Adobe Photoshop.
- Make a new document that fits your banner’s dimensions. For illustration, the size for a typical Facebook cover photo would be 820 by 360 pixels.
Step 2: Selecting the Background
Pick a background color or picture for a banner. You can use a gradient, a single hue, or add a texture to give your layout more depth and intrigue. The background you select will depend on the subject and purpose of your banner.
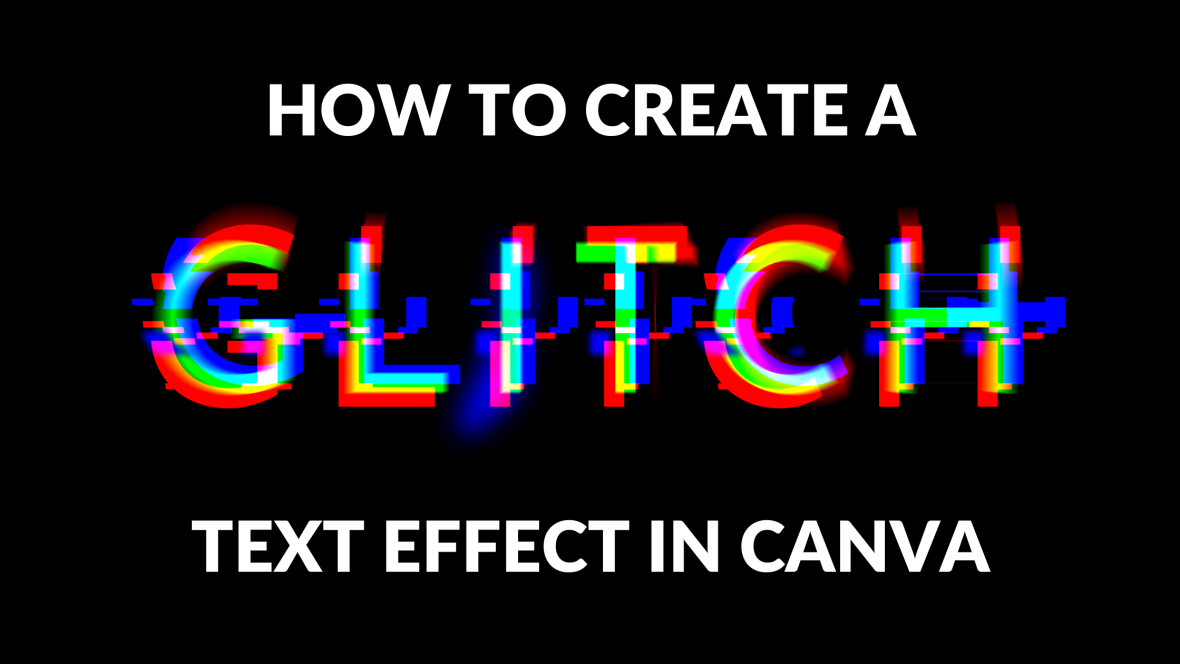
Step 3: Include Your Text
- For your glitch text, use a bold, attention-grabbing typeface. For this kind of design, futuristic or technological fonts are ideal.
- To type the text, you want on the canvas, select the text editor from the toolbar. This text can be the name of your business, an announcement, or any other text pertinent to the goal of your banner.
- To create a pleasing visual composition with your text on the canvas, alter the font’s size, color, and placement.
Step 4: Making a Second Copy of the Text Level
- To edit text, use the Layers panel’s right-click menu.
- To make multiple duplicates of the text layer, choose “Duplicate Layer”. For each copy, a glitch effect will be applied separately.
Step 5: Adding Glitch Effect to Text Layers
- Choose one of the text layers that were duplicated.
- Depending on the capabilities of your software, select “Distort” or “Wave” from the “Filter” menu.
- You can alter the settings to create a glitch effect. To get the desired glitchy appearance, experiment with various variables such as amplitude, the wavelength, and type.
- Once you’re happy with the outcome, keep experimenting with different settings.
Step 6: Replicate Glitch Effects on Additional Text Layers
- Apply glitch effects with various levels or iterations of the effect to the remaining copied text layers. This phase gives your glitch text depth and complexity.
- Consider manually bending or distorting the text layers with the “Transform” or “Warp” effects to add more glitchy components for a touch of extra creativity.
Step 7: Playing around with the Blend Modes
- For the text layers with glitches, try a few different blend modes. For glitch text, the blend modes Overlay, Screening, and Multiply frequently work well since they enhance the impact by interacting with the backdrop in unusual ways.
- To fine-tune the text layers’ visibility and effect on the overall design, change their opacity.
Step 8: Adding Glow-In-The-Dark Components
- Consider around your glitch text with luminous elements to make it even more stunning.
- Create new layers, then encircle the text with luminous, abstract forms or lines using brushes and the Pen tool.
- These items should be given a blur or outside glow effect to make it appear glowing and blend in with the broken text.
Step 9: Modifying the Colours
- Try adjusting the colours to give the glitch text a distinctive and eye-catching color palette.
- To get the desired appearance, you may employ a hue map, color harmony, or specific color modifications. In order to select the one which most complements your design, try out various color combinations.
Step 10: Finishing touches and details
- Evaluate your design and add any necessary modifications. Make sure the problem with the text banner appears balanced and eye-catching.
- If necessary, include any other components, such as icons, graphics, or text. These components ought to boost your banner’s overall message and work in harmony with the glitch text.
Step 11: Upload Your Glitch Text Banners by Exporting It
- It’s time to export and publicize your glitch text banners after you’re happy with it.
- Export the banner in the right file type and size for your intended application, such as a social media cover photo, such as JPEG or PNG and publish it on social media or any other platform.
Remember that using glitch text to create eye-catching banners is an artistic endeavour, so feel encouraged to experiment and change parameters until you get the desired result. For your banner to stand out, don’t be afraid to experiment with various fonts, colours, and glitches.