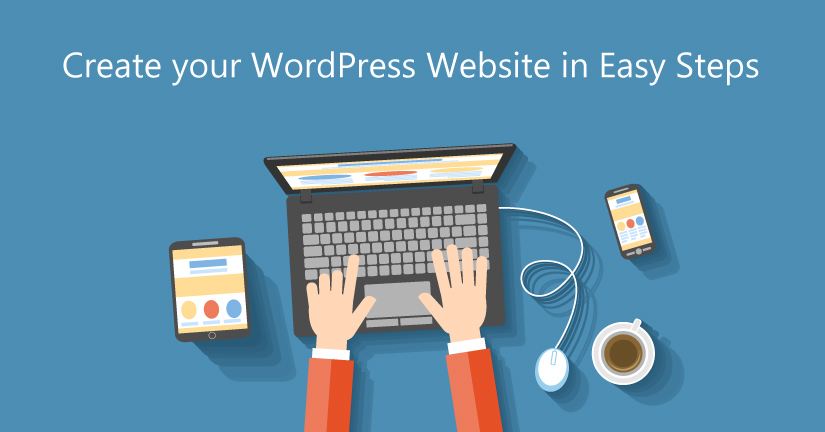
 The WordPress is theme based content management system (CMS) which is known for its easy to build and easy to use websites which can support any business setup. Being a theme based CMS system, a user can easily change the look and feel of the site at any point in time. The best part is the content will remain the same. With the help of WordPress, you can quickly develop a robust site without any fuss. Using the WordPress for the first time can be a bit confusing but it will be good that you should first read the instructions manual and then install WordPress software.
Apart from these manuals, you can also go through the articles and webinars which will help you to get through this process. The whole WordPress development process takes around 30 minutes. In this post, you will be reading few simple steps that would make your web development task easy and hassle-free. This guide is purely aimed at beginners who are planning to create a site for the business or personal use.
Here are the few steps that you need to follow:
1. Registering the Hosting and Domain name.
There are two options through which you can host your WordPress based site. The first option is you either let WordPress host your site but your domain name will show up as “bestimages.wordpress.com”. It will be good that if you separate domain name and hosting, as it looks more professional and less spammy.
The second option is that you can hire a third-party hosting firm which will offer you a dedicated server, customised domain name and host of other features. The primary benefit of having an own server is that the site can efficiently handle all the web traffic and usage data. When it comes to hosting a site, you need PHP v4.3 or greater, MySQL v4.1.2 or greater running on the server. In case you don’t have much knowledge about all these you can write down an email to the hosting firms and ask them which version they are offering.
2. Downloading the WordPress.
To start the web development process, you need to download the WordPress CMS software on your PC or Laptop. It is highly recommended that you should install the latest version of WP i.e. WordPress 4.7 “Vaughan”. Once you have downloaded the .exe setup, unzip all the files and install it.
3. Adding the information.
Open the folder which contains all the WordPress files and looks out for “wp-config-sample.php.” You have to rename it to wp-config-sample.php to wp-config.php and open it in any text editor. This is where you have to fill in all your database details. Login to the hosting panel and look for the MySQL section. Create a new database and save all info on the file. Fill in database details in the wp-config.php file, save it and close it. Now you are ready to move forward.
4. Uploading files to the server.
In case you don’t have much experience in uploading files to a server, then you may find this step a bit tricky but it becomes easy once you understand how this whole thing works. Uploading files to the server is just like copying files from one folder to another. The only difference is that here you will be copying those files to a remote computer and thus you will be needing a login & password to gain access to it. If you are hosting your site of your own then ask the web host to provide you with an access to FTP accounts.
5. Installing the WordPress.
Once the upload is complete, now you now have to install the WordPress. Open the default web browser and type in your site’s domain name “www.mywebsitename.com/wp-admin/install.php and that’s it!. After installation, you will receive the login and a randomly generated password that will let you access the WP’s admin panel. You should change your password and don’t share it with anyone.
6. Choosing the design theme.
Now this is the confusing part. The WP site comes with the default theme and allows users to add any theme as per your needs. As mentioned above, WordPress is a theme-based CMS system and comes loaded with millions of themes. The web is full of several official and third-party themes that may match your business requirements.
Well, there are great chances that the free theme which you selected for your site may be already used by any other WP based site live on the internet. If you wish that your portal should stand out them you must opt for customised themes which are made just to meet the specific requirements of the business. In tailor made themes you can add anything you want. Be it navigation, product display, background image, sidebars or menu, a custom theme can be loaded with almost anything.
7. Setting your theme and updating general settings.
To activate the theme you need to go to Appearance-> Themes in the left panel menu. You can either choose any of the default themes or else you can upload a customised theme. Select the file, confirm it and the theme will be live within few seconds.
To set your website title and some of the main settings go to Settings>>General. Here you will come across several options such as font size, colour, font type, background image, plugins and much more.
8. Installing necessary plugins
Once your site is live on the web it’s time that you start looking for essential plugins that will help you boost the functionality and will make your portal robust. These plugins come in handy while adding extra features to the site. The WordPress directory is full of reliable plugins that are suitable for all sorts of the portal. YoastSEO, BackupBuddy, WP Forms, OptinMonster etc are some of the most commonly used WordPress plugins.
Wrapping Up
If you are an amateur and wish to develop a powerful site and that too without spending a dime then WordPress is the best CMS system for you. Based on the open-source tech, WP offers plenty of customization features that no other portal can offer.
Author Bio :
Sophia Phillips is an expert frond-end & WordPress developer. Currently, she is employed with WordPrax Ltd. – a leading PSD to WordPress theme converter company. Sophia has had written a remarkable number of articles on WordPress tricks and tips.


