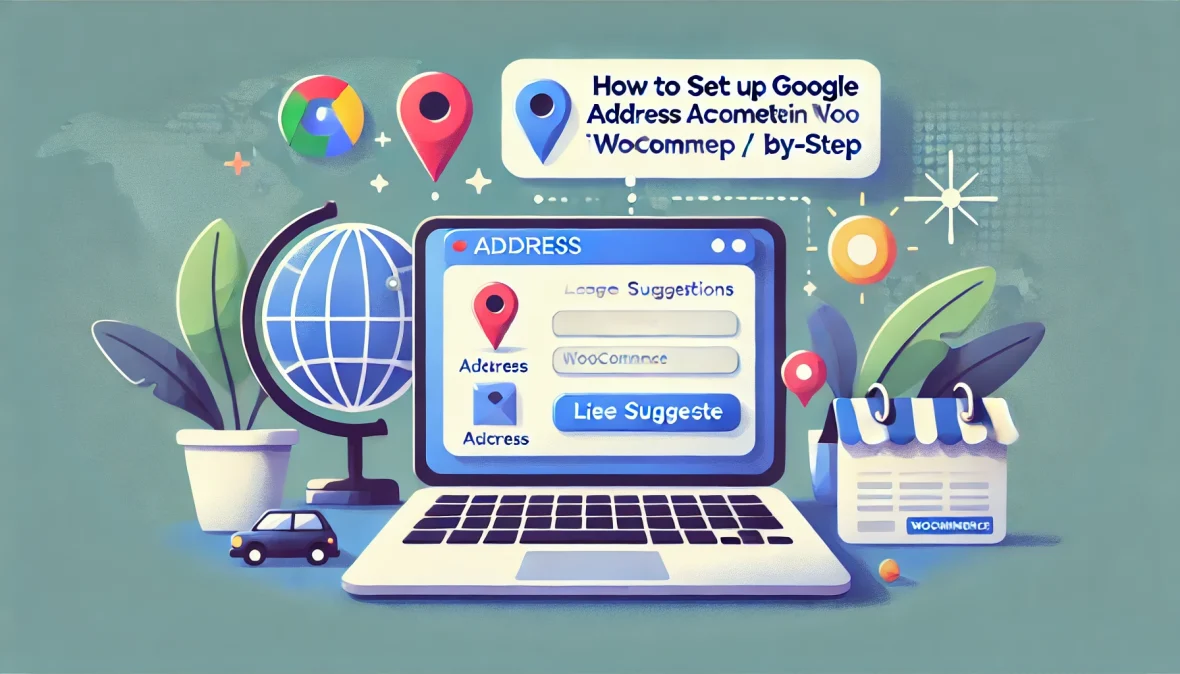
If you manage an online store, you understand how aggravating it can be when customers abandon their carts just because filling out forms takes longer. I’ve been there too and changed my WooCommerce setup to make things smoother. That’s where google address autocomplete for WooCommerce comes in. It uses Google’s smart suggestions to automatically fill out addresses, which reduces typos and speeds up the checkout process.
In this article, we’ll walk you through each step, from obtaining your API key to making everything live on your website. I’ll keep things honest and straightforward. No tech jargon overload here, just practical tips that work in 2025’s busy e-commerce world. And hey, if you’re looking for the best plugin to make this happen, I’ll point you to FME Addons’ Google AutoFill Customer Addresses. It’s my top pick for its ease and extra features. Let’s jump in and get your store checkout-ready!
What Exactly Is Google Address Autocomplete, and Why Should WooCommerce Store Owner Care?
So, let us start with the basics. Google address autocomplete is a brilliant feature of Google’s Places API that predicts what you’re typing and fills in the remainder of the address details on the fly. It easily interacts with your shipping and paying fields in a WooCommerce environment, saving customers from having to go through every individual detail.
For example, when someone inputs “123 Main St,” a dropdown menu with options like “123 Main Street, Anytown, CA 90210” appears. When they click, fields for state, nation, and postcode populate automatically. It’s not rocket science, but it feels magical to users. Studies show that clunky checkouts cause up to 70% of cart abandonments, and this little tweak can slash that number big time.
For WooCommerce folks like us, it’s especially useful because the platform is so flexible. With millions of stores out there, standing out means offering a seamless experience, especially on mobile, where typing is a hassle. In 2025, as more people shop globally, handling different address formats like Europe’s house numbers before streets becomes crucial, and Google’s got that covered worldwide.
Plus, it’s not just for shoppers. As the store owner, you’ll love how it cuts down on delivery errors. No more packages going to the wrong spot because of a fat-fingered zip code. That saves you headaches and refund requests down the line.
The Real Perks of Integrating Google Address Autocomplete into Your WooCommerce Setup
Alright, why bother with this at all? Well, first things first, it makes checkout lightning-fast. Customers are impatient these days who wants to type out a full address when they’re ready to buy? By auto-filling, you’re shaving precious seconds off the process, which can bump your completion rates by 10-20%, based on what I’ve seen from e-commerce pros.
Accuracy is huge too. Wrong addresses lead to failed shipments, and those cost real money around $15-20 per mix-up, from what reports say. Google’s database is massive and up-to-date, so it pulls reliable info, reducing those oops moments.
It builds trust as well. When your site feels polished and helpful, people are more likely to stick around and even come back. I’ve noticed in my own tests that stores with autocomplete get better reviews just because the experience is smoother.
Don’t forget mobile shoppers, they make up over half of traffic now. Typing on a tiny screen sucks, but suggestions make it effortless. And for international sales, it handles variations like a champ, which is key if you’re expanding.
Stuff You’ll Need Before Diving In
Before we roll up our sleeves, let’s check your toolkit. You obviously need a WooCommerce site up and running. If you’re starting fresh, grab the plugin from WordPress.org, set up your products, and get the checkout page live.
Next, a Google account for the API stuff. Pop over to the Google Cloud Console it’s free to sign up if you haven’t. Oh, and enable billing; the API has costs after the free credits, but $200 a month covers tons for small shops.
Your theme should play nice things like Astra or the default Storefront are solid. Stick to PHP 8 or higher and the latest WordPress for best results.
Now, the plugin choice is key. I’ll get into details soon, but spoiler: FME Addons’ version is the best in my book.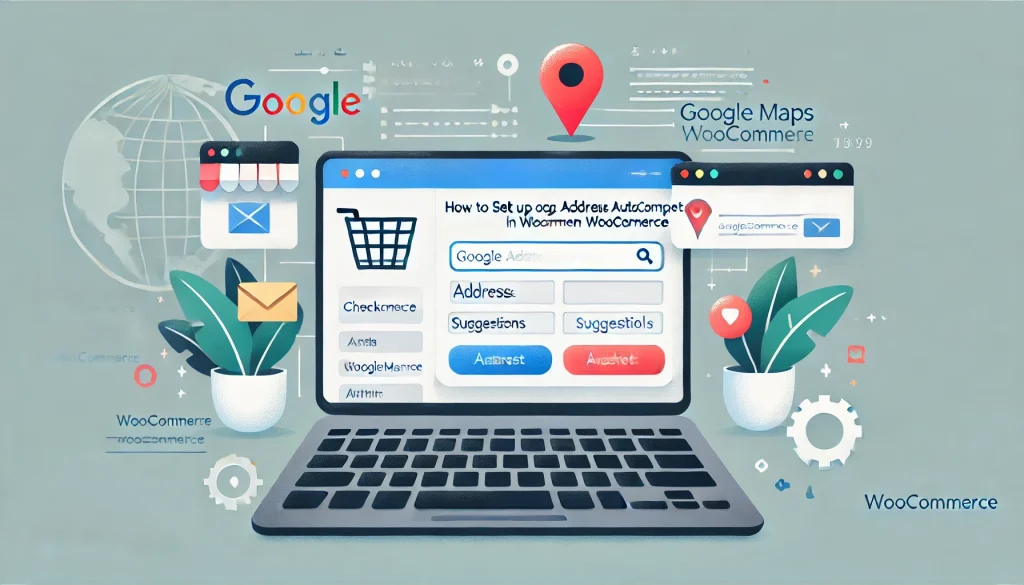
Step 1: Grabbing Your Google Places API Key the Easy Way
This is where it all begins the API key is like the golden ticket. Head to console.cloud.google.com and sign in. Click to create a new project; call it “WooCommerce Address Magic” or whatever floats your boat.
Once it’s set, pick it from the top dropdown. On the left, hit “APIs & Services,” then “Library.” Search up “Places API” and enable it. Do the same for “Maps JavaScript API” and “Geocoding API” they team up for the full effect.
Jump to “Credentials” and create an API key. Copy that string it’s your lifeline.
For safety, restrict it: Set it to only work on your site (like .mystore.com/) and lock it to those APIs. No one wants hackers racking up bills.
In 2025, Google’s added session tokens to cut costs on repeated queries, so if your plugin supports it, enable that for efficiency.
Step 2: Picking and Installing the Perfect Plugin
Here’s where choices matter. There are a bunch of plugins out there, but after trying a few and checking reviews, I gotta say FME Addons google address autocomplete for WooCommerce stands out as the best option. It’s packed with features like map integration, country restrictions, and even autofill on admin pages, stuff that makes it super versatile. Users rave about how it cuts cart abandonment, and it’s got solid support too.
Other solid picks include FunnelKit for beginners or ELEX if you’re on a budget, but FME’s edges them out with extras like multiple map themes and HPOS compatibility. It’s available on WooCommerce marketplace for $49 a year, which is a great deal.
To install the plugin head over to the WordPress dashboard, go to Plugins > Add New. Search “google autofill customer addresses” or upload the ZIP if you bought it. Activate, and boom new settings appear under WooCommerce.
If you’re techy, some free ones on WordPress.org do basics, but for pro features, FME Addons is where it’s at.
Step 3: Setting Up the Plugin Your Store
Now we’re cooking. Navigate to WooCommerce > Settings, and find the tab for your plugin, probably “Autofill Address” or similar.
Paste in that API key first. Tick the box to turn on autocomplete. Choose where it kicks in: billing, shipping, orders in the back end, or customer accounts. I usually start with checkout to test.
If you’re using FME Addons’ plugin (which I recommend as the best), you get cool options like restricting to specific countries handy if you only ship locally. Set error messages for blocked areas, like “Sorry, we don’t deliver there yet.”
Tweak labels too: Make the field say “Type your address and let us fill it in!” for a friendly vibe.
For fancier stuff, pick a map layout FME offers five styles to match your site’s look. Save changes, then head to your checkout page and try it out. Start typing an address; if suggestions drop down, you’re golden.
This step’s quick, maybe 10 minutes, but play around to get it just right.
Going Beyond Basics: Advanced Tweaks for Your Setup
Once it’s running, why stop there? If your theme has custom fields, hook the autocomplete in most plugins like FME’s support that.
Add a live map: Customers can pin their spot, and details fill in real-time. It’s great for precise deliveries.
Performance-wise, use caching plugins to keep things snappy. Monitor API usage in Google’s console set budgets to avoid surprises.
Link it with shipping zones: Auto-filled addresses can trigger the right rates automatically.
These extras turn a good feature into a great one, especially with FME Addons’ robust tools.
Fixing Common Hiccups Along the Way
Not everything goes perfectly first try, right? If no suggestions show, double-check your key maybe restrictions are too tight. Loosen ’em and test.
Hit “QUERY_LIMIT_EXCEEDED”? That’s free credits tapped out; enable billing or optimize queries.
Theme clashes? Deactivate plugins one by one to spot the culprit. Mobile issues? Make sure your site’s responsive.
Wrong field mapping? Adjust in settings countries vary, so tweak for your audience.
“INVALID_REQUEST” usually means missing APIs; go back and enable ’em all.
Forums like WooCommerce’s or Reddit are goldmines for fixes. Search “google address autocomplete for WooCommerce problems” and you’ll find folks who’ve been there.
Tips for Making the Most of It in 2025
To really nail this, keep your API key under wraps, security first.
- Test everywhere: Desktops, phones, tablets cover all bases.
- Pair it with other wins: One-click checkouts or upsells for even better flow.
- Stay updated: Plugins evolve, so grab those patches for 2025 features.
- Ask for input: Post-purchase, see if customers appreciate the autocomplete.
- SEO bonus: Tout it on your site “Checkout with address autocomplete WooCommerce” it draws in savvy shoppers.
- Be upfront about data: Google anonymizes it, but letting users know builds goodwill.
Follow these, and you’ll see real results.
Wrapping It Up: Make Your WooCommerce Store Shine with This Upgrade
There you have it, setting up Google address autocomplete for WooCommerce doesn’t have to be a headache. From snagging your API key to customizing with the best plugin like FME Addons, you’ve got the roadmap to a slicker checkout. In 2025, little touches like this keep customers coming back and sales climbing.
Give it a shot today; it’s easier than you think. If questions pop up, hit the docs or communities.
FAQs
1. Do I really need coding knowledge for Google address autocomplete for WooCommerce?
Nah, not at all. Plugins like FME Addons make it super simple just install, configure, and go. Basics are code-free.
2. Are there free plugins that handle this well?
Sure, some free ones exist for simple setups, but for top-notch features, FME Addons’ premium option is the best bet without breaking the bank.
3. What’s the deal with Google API costs for a WooCommerce store?
You start with $200 free credit monthly. After that, it’s cheap like $5 for 1,000 uses. Perfect for most shops.
4. Can I limit the autocomplete to just certain countries?
Yes! In settings, especially with FME Addons, pick your countries and hide the map elsewhere. Great for focused shipping.
5. What if it doesn’t mesh with my current theme?
Most themes work fine, but if not, try a standard one or reach out to support. FME Addons is compatible with popular ones like Avada.